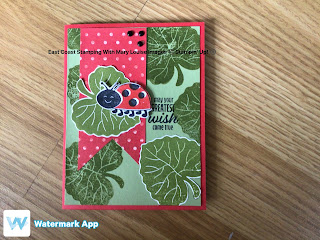
Stampin Up Hello Ladybug for Challenge Showdown!
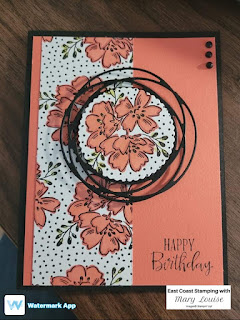
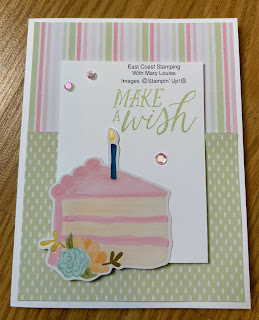
Omg! Today, we had so much fun! My side line, Andrea from Prairieskypapercrafts with Andrea and I went live together, we each created a card using a sketch she created. We are almost polar opposite crafters and it showed when we showed our end results.
Here is the sketch and how I interpreted it.
I stamped the big leaf several times in Old Olive ink on a layer of Old Olive cardstock. Then I stamped another onto a piece of Basic White and fussy cut that out. Next I stamped in Memento ink, the ladybug image on Basic White scrap, followed by Poppy Parade ink for her body. I did this for the insert as well. I fussy cut the image on the scrap and popped it up onto the leaf using dimensionals. The piece of dsp was flagged on one end by cutting straight in the center up about 3/4 of an inch, then angled from each side. One last thing to stamp, the sentiment using Memento wherever you have left a space on your leaf stamped Old Olive layer.
Now let’s put it all together. Place your flagged piece of dsp onto the leaf stamped mat of Old Olive and then adhere to the Poppy Parade cardbase using Stampin’ seal. Next add your leaf/ladybug duo using Stampin’ seal and add your insert also. I finished it off with a few of the Classic Matte Dots.
**after the video was over, I went back and added a fussy cut leaf to the front, I wasn’t happy with the way the original leaf looked**
Materials used:
Poppy Parade cardbase- 8 1/2 x 11 folded in half
Old Olive layer-4 x 5 1/4
Basic White- 4 x 5 1/4, scraps for stamping
Flowering Fields strip-2 x 4 1/4
Hello ladybug stampset
Memento, Old Olive and Poppy Parade ink pads
Classic Matte Dots
Dimensionals, Stampin Seal
If you want to watch, take a look here.
Thanks for stopping by,
Mary Louise
Want to see more? https://bit.ly/MaryLouiseSocial


Comments
Post a Comment