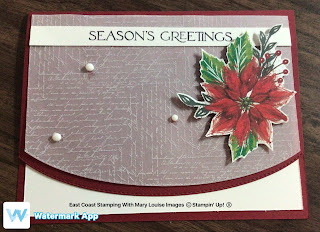
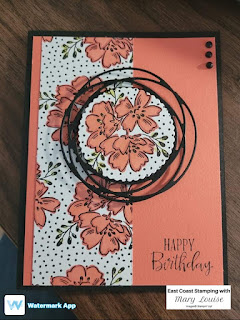
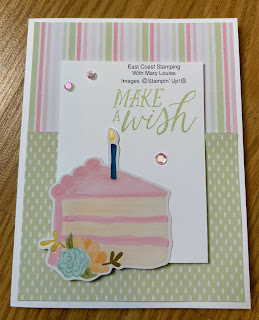
Stampin Up Boughs of Holly Christmas Card
First, I fussy cut the Poinsettia for my main focal image from the Boughs of Holly DSP. Then I stamped the greeting using Memento on a scrap of Basic White from the Brightest Glow stamp set. Next I used the curvy die from the Basic Border Dies to cut a curved edge to the card base. Then I did the same with the piece of vellum. If the vellum needs to be trimmed down a bit, now is the time to do it using your paper trimmer. Now add the sentiment using stampin seal, Poinsettia using dimensionals and your embellishments to the card front. Now add stampin seal to the back of the vellum where it will be covered by the items added to the front and adhere to card front. Vellum is beautiful to use for projects but the adhesive shows through so you want to place yours strategically.
List of products and measurements:
Cardbase: Cherry Cobbler, cut at 5 1/2 x 8 1/2
Vellum layering designs, cut at 4 x 5 1/4
Basic White Cardstock, 4 x 5 1/4, strip for sentiment
Boughs of Holly DSP, fussy cut Poinsettias
Basic Border Dies
Brightest Glow Stamp Set
Classic Matte Dots
Memento Ink Pad
Stampin Dimensionals, Stampin Seal
This is such a simple, yet pretty card that makes a statement.
Thanks for dropping by,
Mary Louise
https://bit.ly/MaryLouiseSocial


Comments
Post a Comment